Welcome! This month we’re introducing one of the world’s most popular generative AI toolsets, runway.ml, and using it to generate a set of short video clips to create a promotional video for a conference. The series continues below.
Project overview
As generative AI develops at speed, we’re delving into the apps and tools currently available to help with ‘real’ creative projects. In this case, we’re using the video generation tools available at runway.ml to create short video clips to edit together to create a short promotional video for an upcoming conference. We’ll use chatGPT to suggest a script, then use runway’s text-to-speech tool to create a realistic-sounding voiceover.
Note that this is not an explainer series, though we do detail the main steps to follow at runway.ml.
In this entry in the series we use runway.ml’s browser-based video editor to start assembling the conference video.
During this series we’ve used runway’s text to video tools to generate short video clips and still images, and runway’s text to speech tool to create realistic voices. Now it’s time to start assembling our video!
Individual Clips (to download)
If you’d like to work with our generated assets to play along with, or are just interested in the quality of AI generated video output in early 2024, you’re welcome to download the generated clips below. Each clip is 4 seconds long as per runway’s default length in February 2024.
VIDEO CLIPS (10)
AUDIO VOICEOVER (2 OPTIONS). Click the 3 dots to download.
STILL IMAGES
Create a video project and add video and audio clips to the timeline
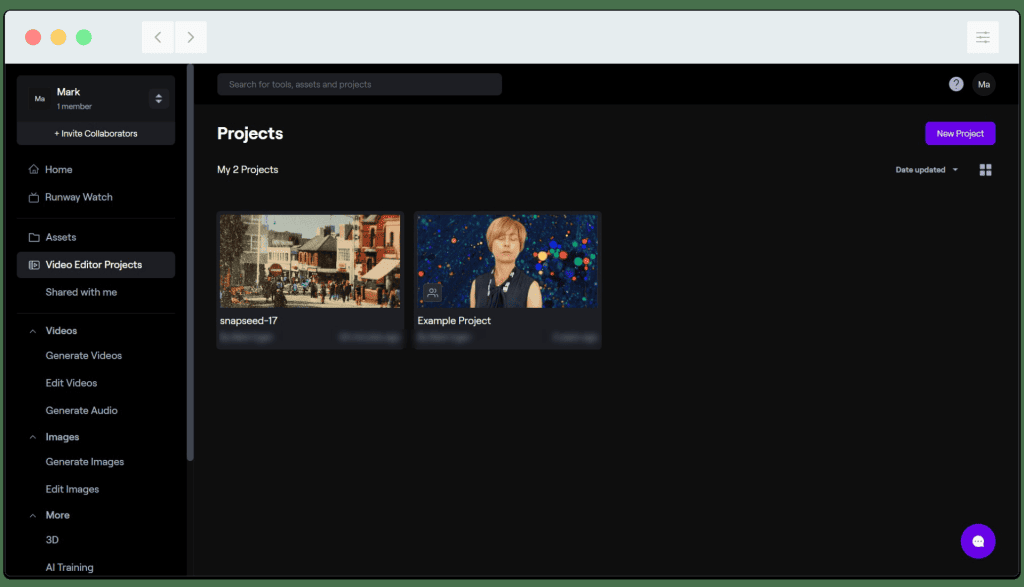
1: Select ‘Video editor projects’ on the main menu on the left. Next, click the ‘New Project’ button at the top right:
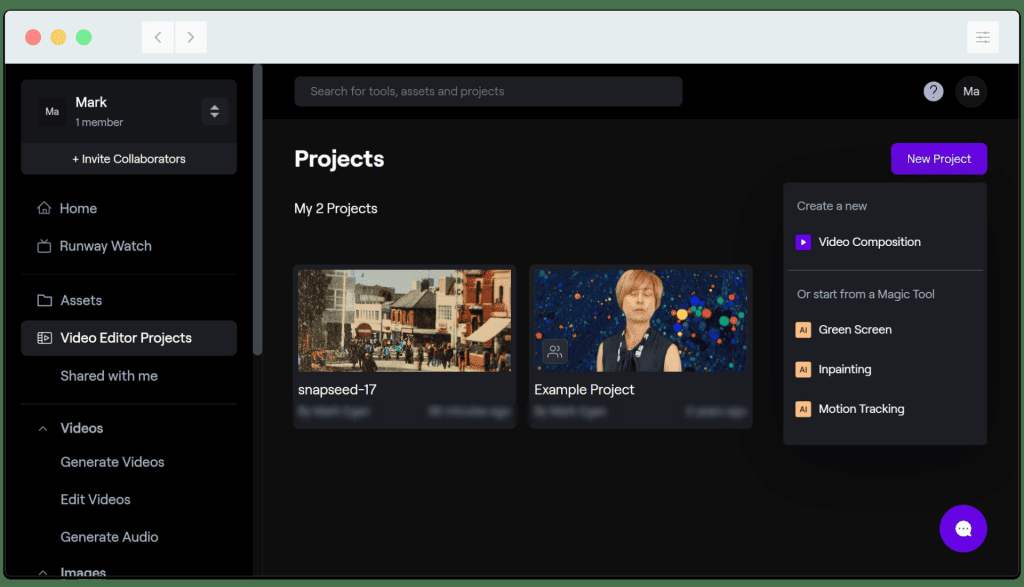
2: To start a regular video editing session, select ‘Video composition’ from the drop-down menu. There are also options available for green screen projects , AI inpainting and motion tracking:
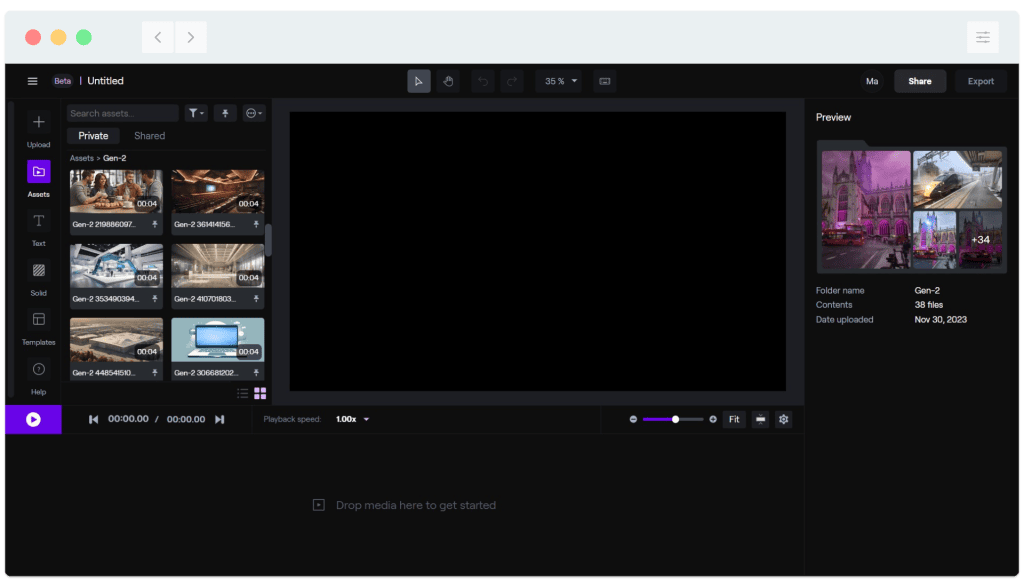
3: The editor interface opens. Video and audio files generated from inside a runway account are shown at the top left. The timeline panel at the bottom of the window and the central preview pane are currently blank, as expected:
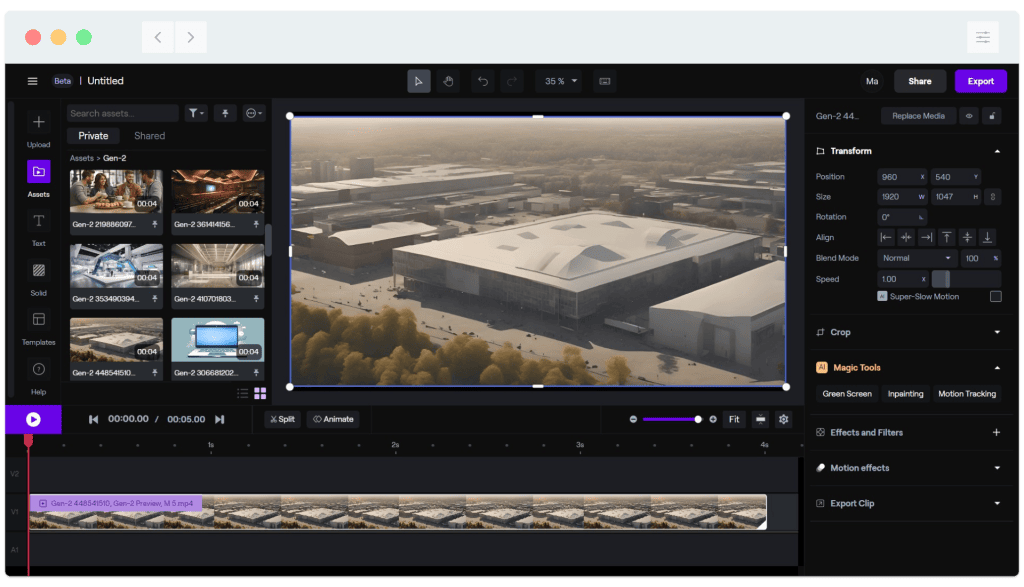
4: Scroll through the assets to locate the first clip you want to add to the timeline. For the conference video, this is the flying drone shot of the conference venue. Drag and drop the clip onto the timeline as shown below:
If you are using our clips (download links above) rather than your own generated clips, you can drag them directly from a folder on your computer to the timeline.
5: Below, we’ve repeated the same process to add the generated voiceover audio to the track below the video track. Drag a clip left or right to reposition it on a track – We’ve moved the voiceover clip a few seconds to the right so it starts after the video does:
TOP TIP: Press your SPACEBAR to play the video from the current location of the red playhead. This is standard in most video editors.
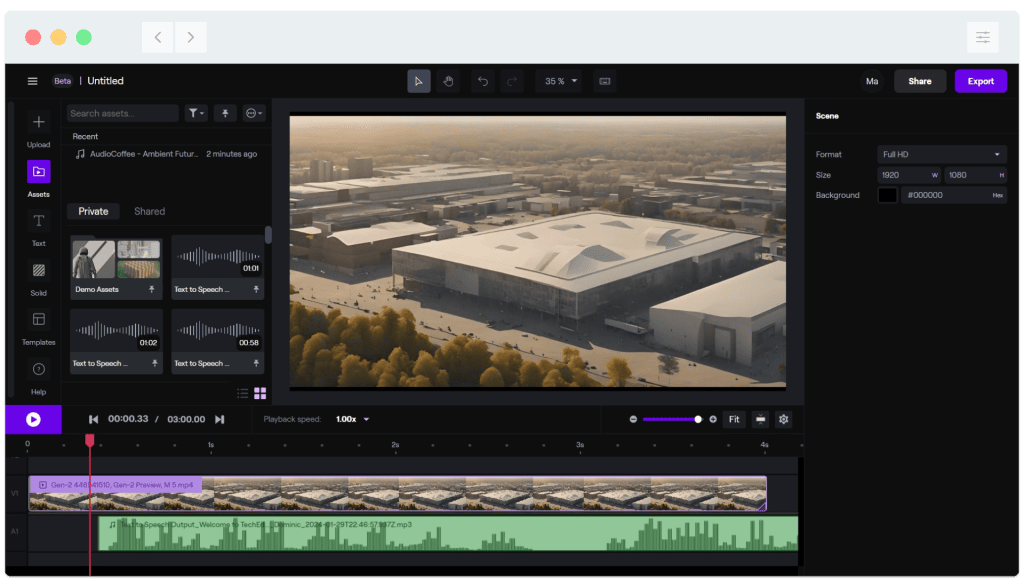
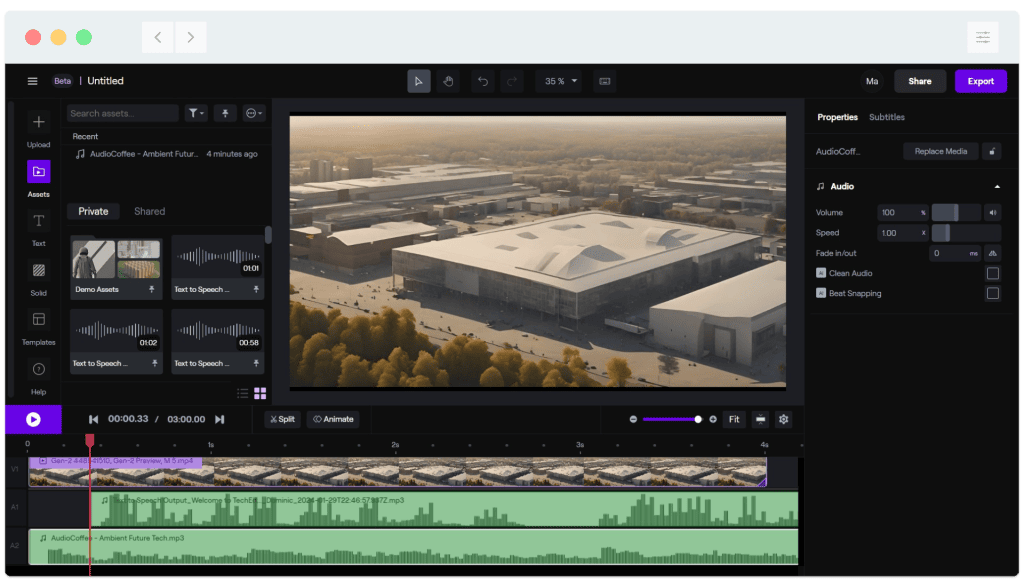
Add a music track to the timeline
Any video or audio assets stored outside of runway (I.e. On your computer) can be added by simply dragging and dropping them onto the timeline, just like the clips already saved in runway. We’ve added a free ambient soundtrack file to the audio track below the voiceover:
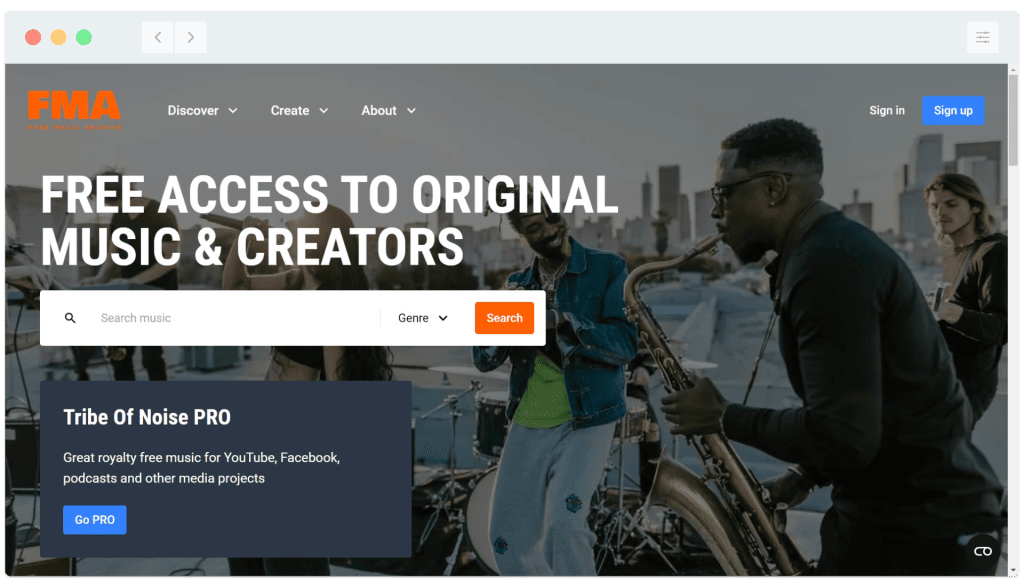
The music track ‘ambient future tech’ was sourced from Free Music Archive for personal use. Create a free account to download FREE audio tracks, and always check the usage rights.
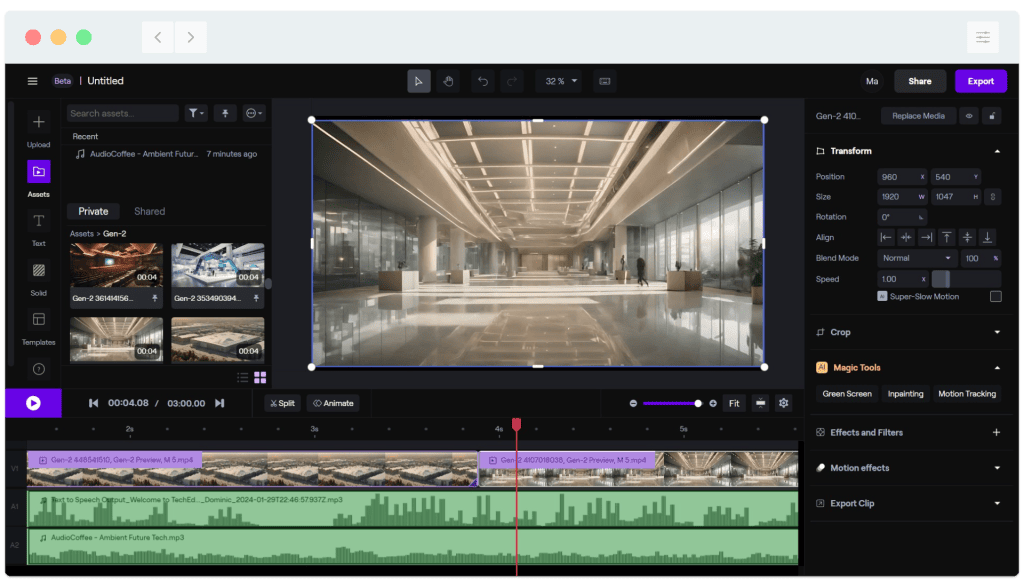
Apply a filter to a video clip
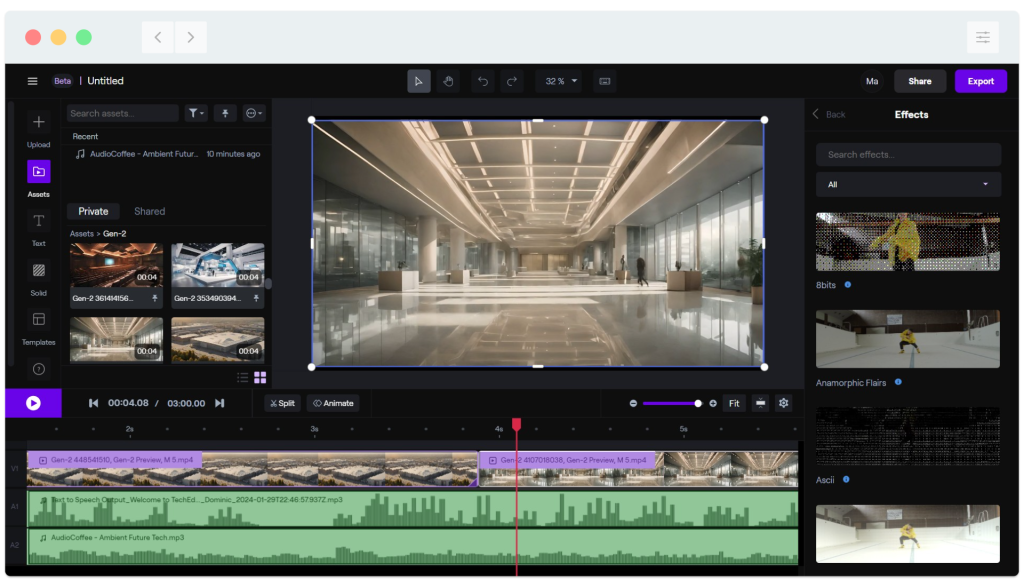
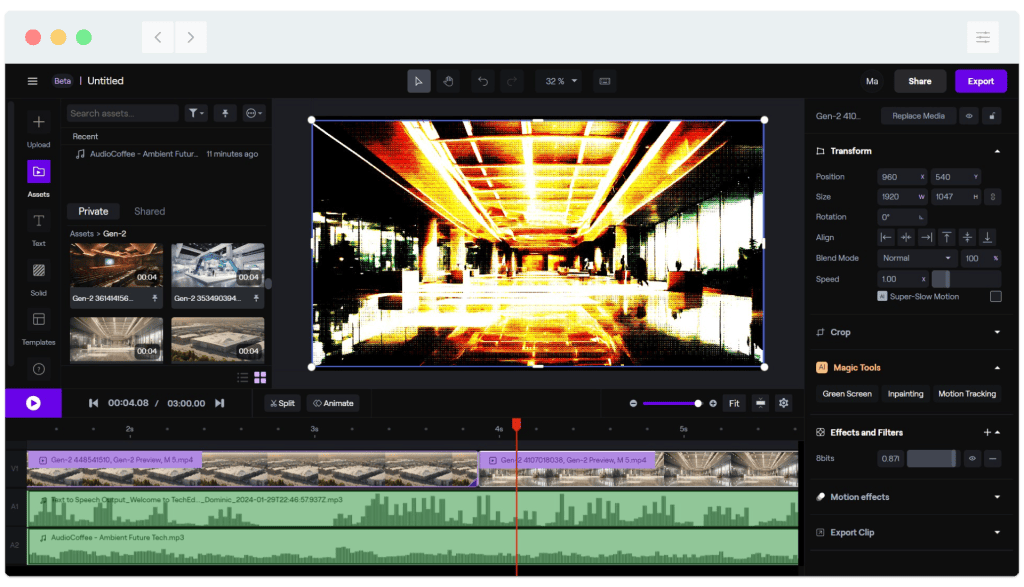
1: Select any video clip in the timeline to adjust basic parameters including size and rotation. Click ‘effects and filters’ on the right to view runway’s built in filter options…
2: Scroll through the filters. Don’t assume the ‘best’ ones are near the top! To apply a filter, just click on it! Below we apply the ‘8 bits’ filter then adjust its intensity…
Split a video or audio clip
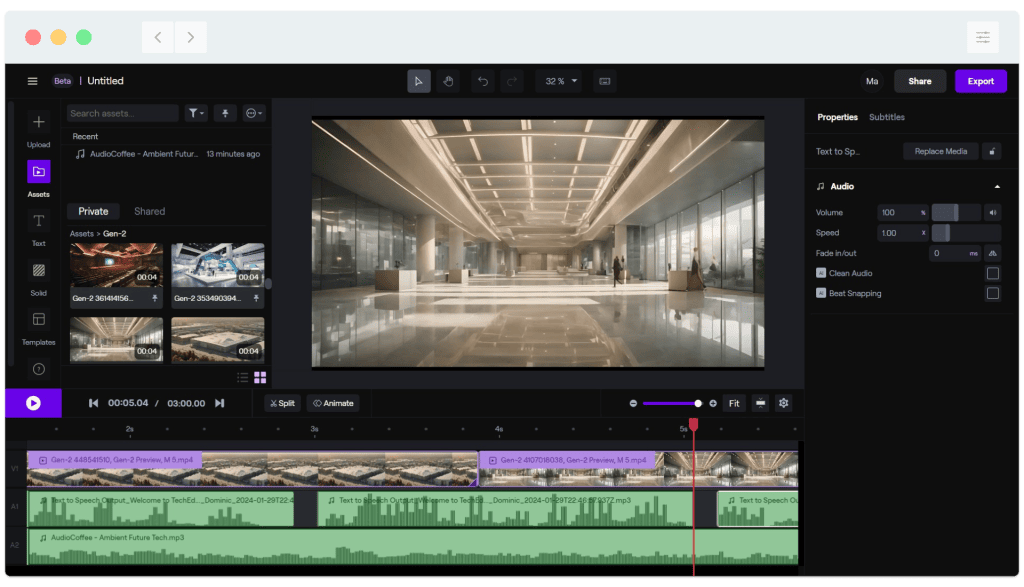
Our AI-generated audio narration file needs to be split into small sections to avoid it sounding like one very long sentence. To split an individual audio or video clip in two, start by selecting it, move the red playhead to where you’d like to cut it, and click the ‘split’ button just above the timeline. Below, we’ve split the narration into 3 segments and repositioned each to leave sensible pauses:
Export the sequence as a video file
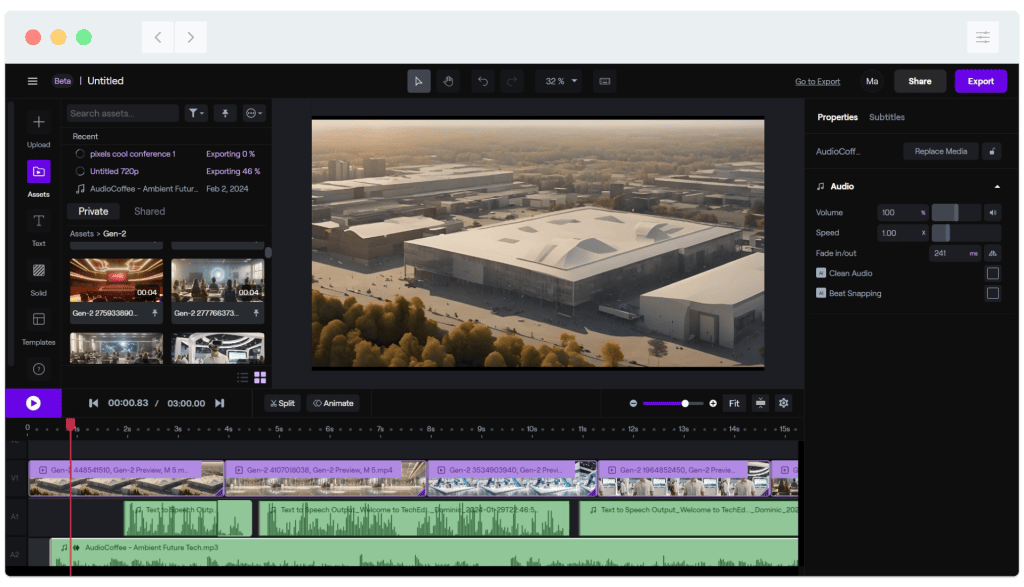
To export a sequence as a video file, click the ‘Export’ button at the top right of the window. As we’re using a free runway account, only the 720p option is available. (Full HD and 4k options require a paid account, though runway cannot generate 4k clips at this time so 4k export will only be useful if you have your own 4k clips).
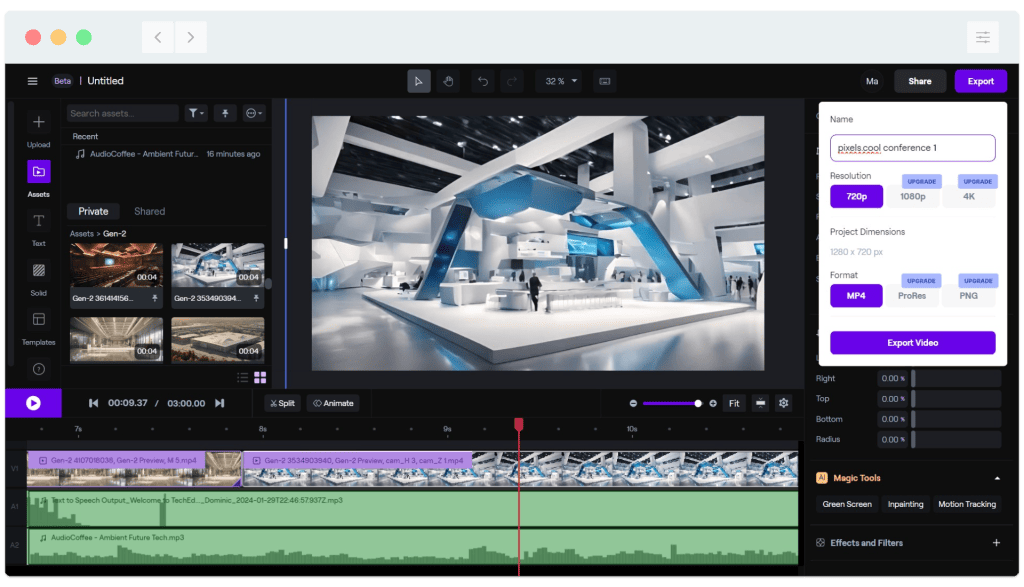
Note the video is exported into the runway asset folder – You can view the export progress above the clip thumbnails:
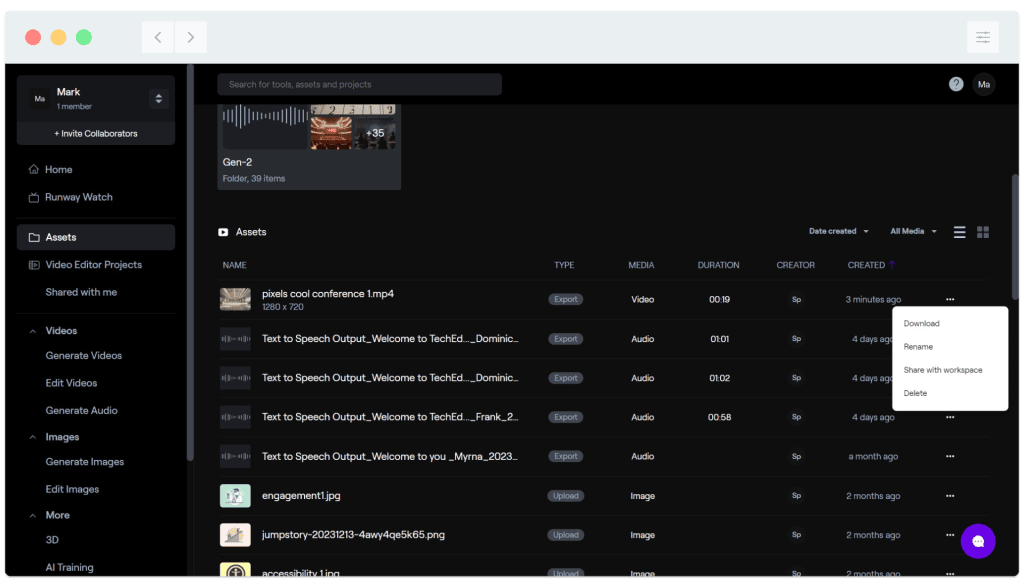
To download the ‘exported’ file from your runway assets to your own computer, click ‘Go to assets’ towards the top right of the window. Next, and click the 3 dots alongside the rendered file as below:
Adding text titles and still images
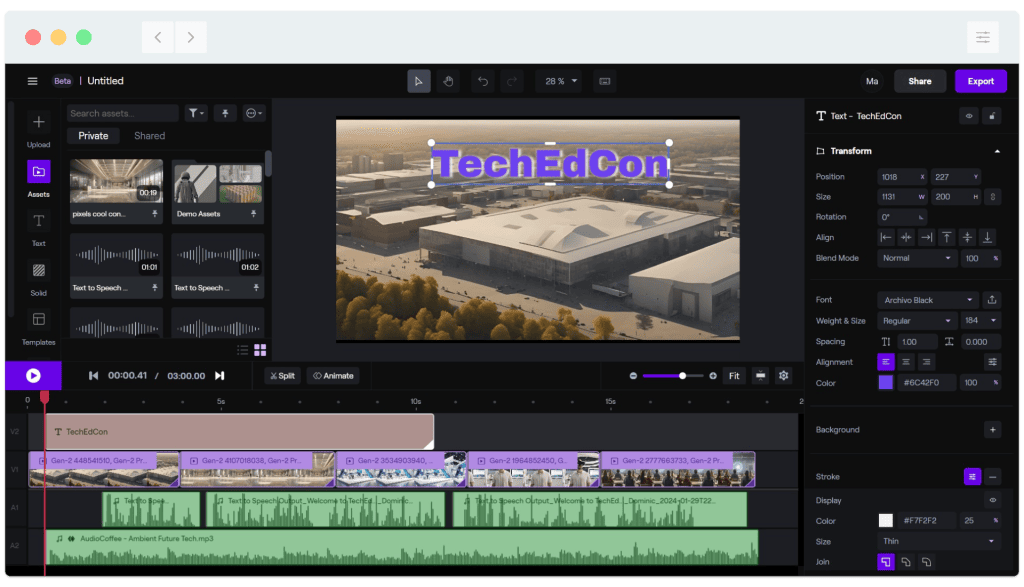
To add a simple text title, start by clicking the text button on the left and enter some text. You can adjust how the text looks from the properties panel on the right:
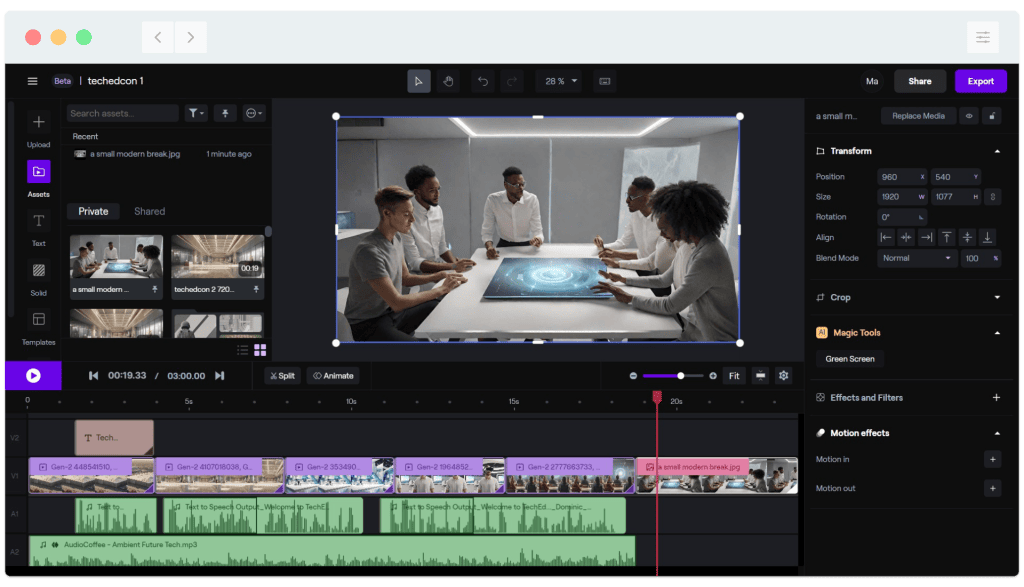
To add a still image to the timeline, drag and drop it in the same way as for video clips. Below, we’ve added the ‘breakout room’ image to the end of the sequence:
Another option we found useful was applying a simple fade to the music track. To do this, select the music clip then use the ‘fade’ slider in the properties panel on the right:

The rendered video
Here’s the first 20 seconds of our video, including the title text and audio fades, exported as a 720p mp4 file:
Keyboard shortcut list
For a full list of keyboard shortcuts to use with the editor, click the help button towards the top centre of the interface. Here they are:
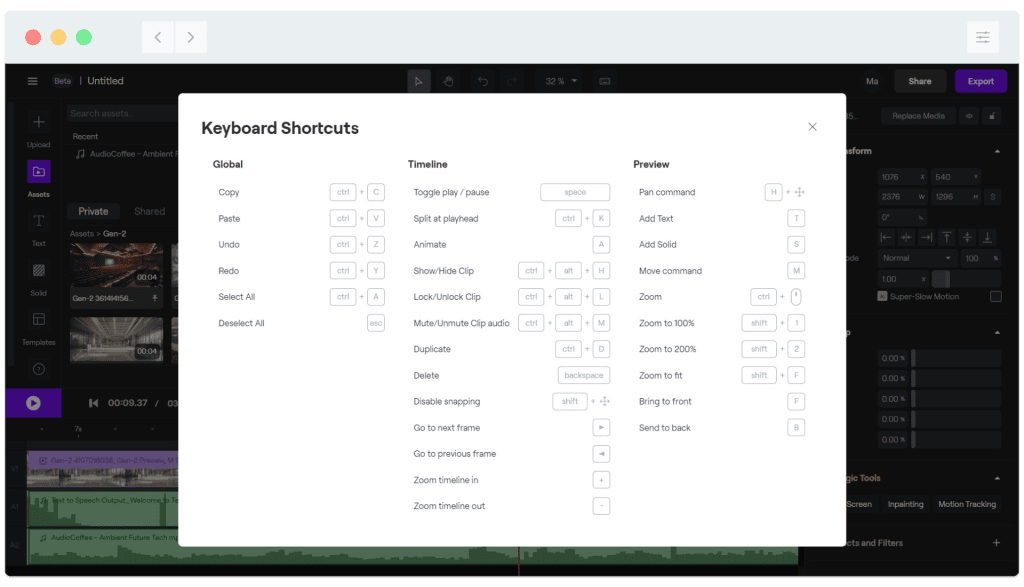
As you can see from the screenshots, there are many other features available in the runway video editor in February 2024. Happy editing!
This is the end of our 10 part series exploring how to generate a short promotional video using runway’s ai video and audio tools and chatgpt’s script generation abilities! See you later in the year for our next dive into state of the art-ful AI 🙂

New to pixels.cool?
Have a look at our year planner RIGHT HERE!