

All our workflow explainers are waffle-free and work-tested. That’s the pixels.cool guarantee!
Navigate the Tinkercad interface, add 3D objects to the workplane and rotate & scale them
Overview
Name of explainer: Navigate the Tinkercad interface, add 3d objects to the workplane and rotate & scale them
Creative theme: Beginning 3D Modelling
Software used (for this explainer): Tinkercad
User level: BEGINNER
This is explainer 2 of 8 in this series
This series includes:
- Get tooled up for this explainer series
- Navigate the Tinkercad interface, add 3d objects to the workplane and rotate & scale them
- Create a coffee mug in Tinkercad
- Export a coffee mug from Tinkercad in OBJ format
- Navigate the Kenney Shape interface and edit built-in objects
- ‘Trace’ a Space Invader image in Kenney Shape to create a 3d object and export it in OBJ format
- Create a new Unity project and import the objects created in Tinkercad and Kenney Shape
- Import a free Unity coffee shop asset and place our 3D objects in the scene
The Software
In this series of explainers we use three applications. You can choose to work with only one or two of them if you prefer.
Tinkercad, to introduce 3D navigation, scaling, rotating and combining shapes and exporting 3D objects. Tinkercad is completely free and runs in your web browser. Create a free account now and be ready to use it in explainers 2, 3 and 4, when we model a mug and export it from the program.
Kenney Shape, for ‘tracing’ a 2D image and turning it into a 3D voxel object and exporting it. At time of writing Kenney Shape costs less than £5 / $5. We’ll create and export a 3D Space Invader in explainers 5 and 6:

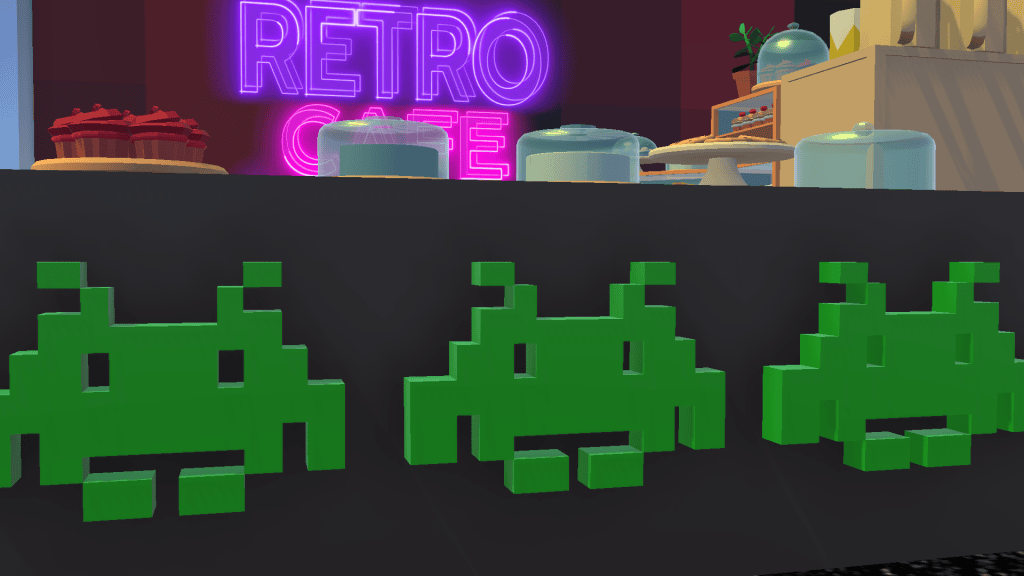
Unity for importing 3D objects, assembling them in a 3D scene and applying simple textures and lighting. Unity is FREE for personal use. We’ll start assembling a Retro Cafe, incorporating the mug and Space Invader, in explainers 7 and 8:
The 3D Objects modelled in this series
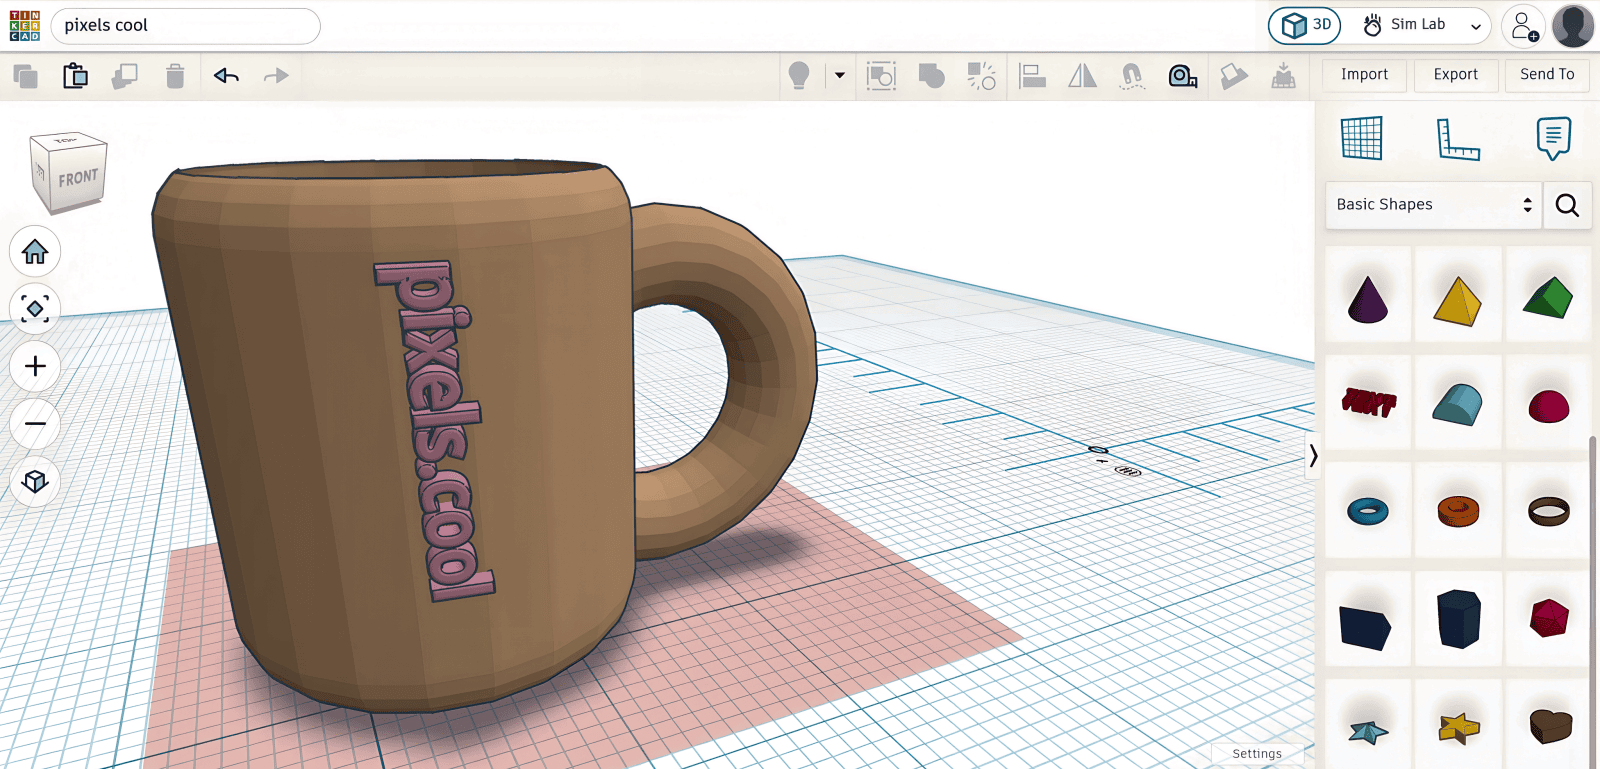
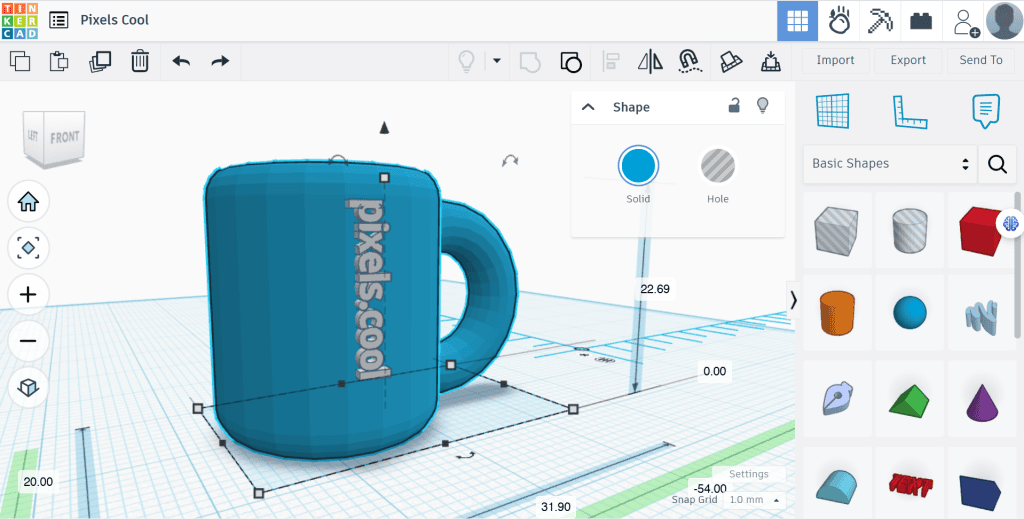
Once we’ve got to grips with Tinkercad we’ll use it to model a coffee mug, complete with text branding:

We’ll make a ‘hole’ in the mug to create a design that could be 3D printed or used in a 3D environment or game:

We’ll ‘trace’ a 2D image of a Space Invader in Kenney Shape to create a 3D ‘voxel’ object…
…while having fun with ‘Grandpa’ Invader and Kenney Shape’s built-in retro objects:


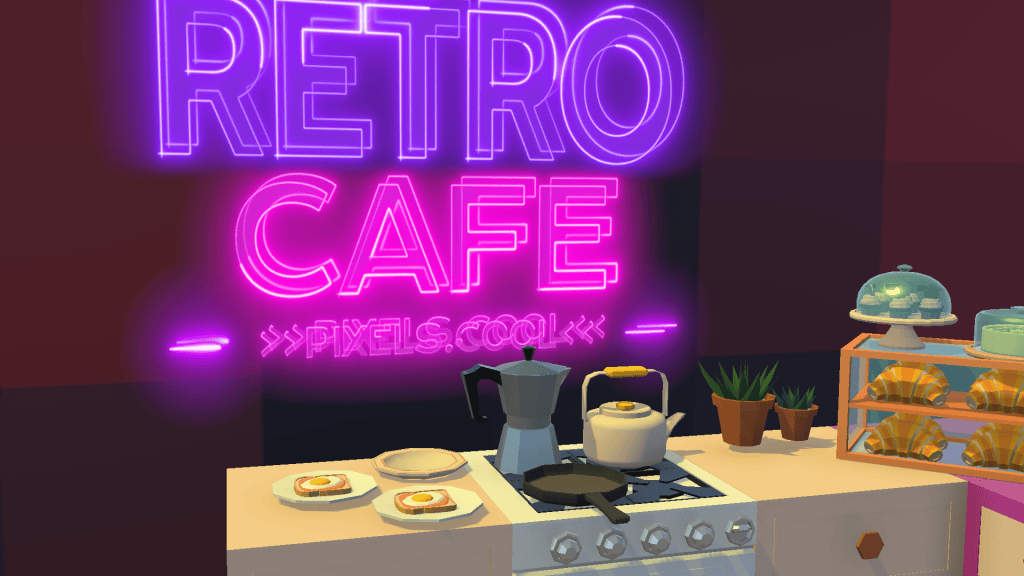
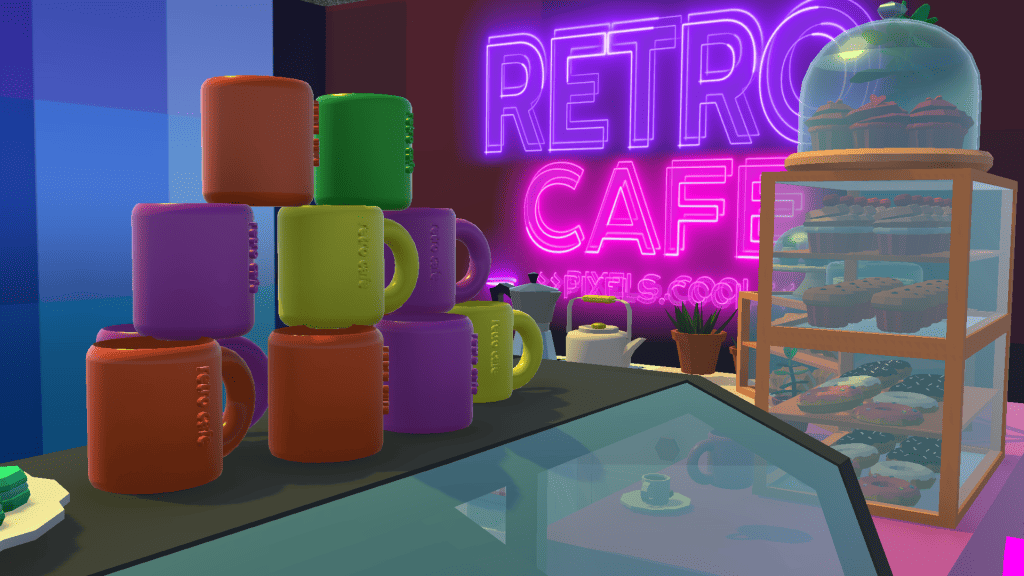
Finally, we’ll import our mug and Space Invader objects into Unity and start blocking out a 3D cafe scene!

The pre-requisities
This is a BEGINNER explainer series, starting with beginner-friendly software. You need to have a basic knowledge of using Windows, downloading and installing software to follow along with this series. Tinkercad and Kenney Shape are beginner-friendly programs. Unity is a complex application and is not recommended for new computer users. For introductory courses and videos for Unity, check out Unity Learn
Why would I do this?
Learning to navigate the Tinkercad interface is essential to get the most out of the program. Once you are able to navigate the virtual 3D space you can add objects to the workplane and start to build your own! The skills you learn here will be transferable to many other 3D programs including Unity, Unreal and Blender.
Let’s do it!
Click the play icon to watch this explainer video. Subtitles are available – Click the settings cog at the bottom right for options. You can watch this video full-screen by clicking the full-screen icon at the bottom right.
Good to know
As mentioned in the video explainer, it’s best to use a keyboard and mouse as you start your journey with 3D modelling.
The keyboard shortcut F is useful in Tinkercad. Short for ‘Focus‘, it puts the selected object front and centre so you can orbit around it as needed. This shortcut is also used in other software, including Unity (which we’ll use in explainers seven and eight in this series).
Watch ALL the videos in this series on pixelscoolTV!
Click below to view our dedicated ‘live’ streaming channel featuring all the video explainers from this series, back to back!
Where to next?
In the next explainer we’ll create our own ‘coffee mug’ by combining primitive shapes.
Remember, this is part of a series of explainers – Join us again for the other explainers in the series 🙂
Notes and updates
There are no notes or advisories at this time. This video explainer was last updated in April 2023. This page was last updated in October 2026.
pixels.cool is not responsible for the content of any external webpages or software downloaded from third party sites. Any links are included in good faith at the time of writing. All explainer content is compiled in good faith using processes and methods used by the team. Modern software provides users with many ways to accomplish a task, and for reasons of clarity we choose not to refer to multiple options. All computer users must run up to date virus / security software at all times to minimise risks of data loss.
This is number 2 of 8 explainer videos in this series. Make sure you join us for the others!
