All our video editing explainers are waffle-free and work-tested. That’s the pixels.cool guarantee!
Create a project, import video clips and save the project
Overview
Name of explainer: Create a project, import video clips and save the project
Creative theme: Video editing
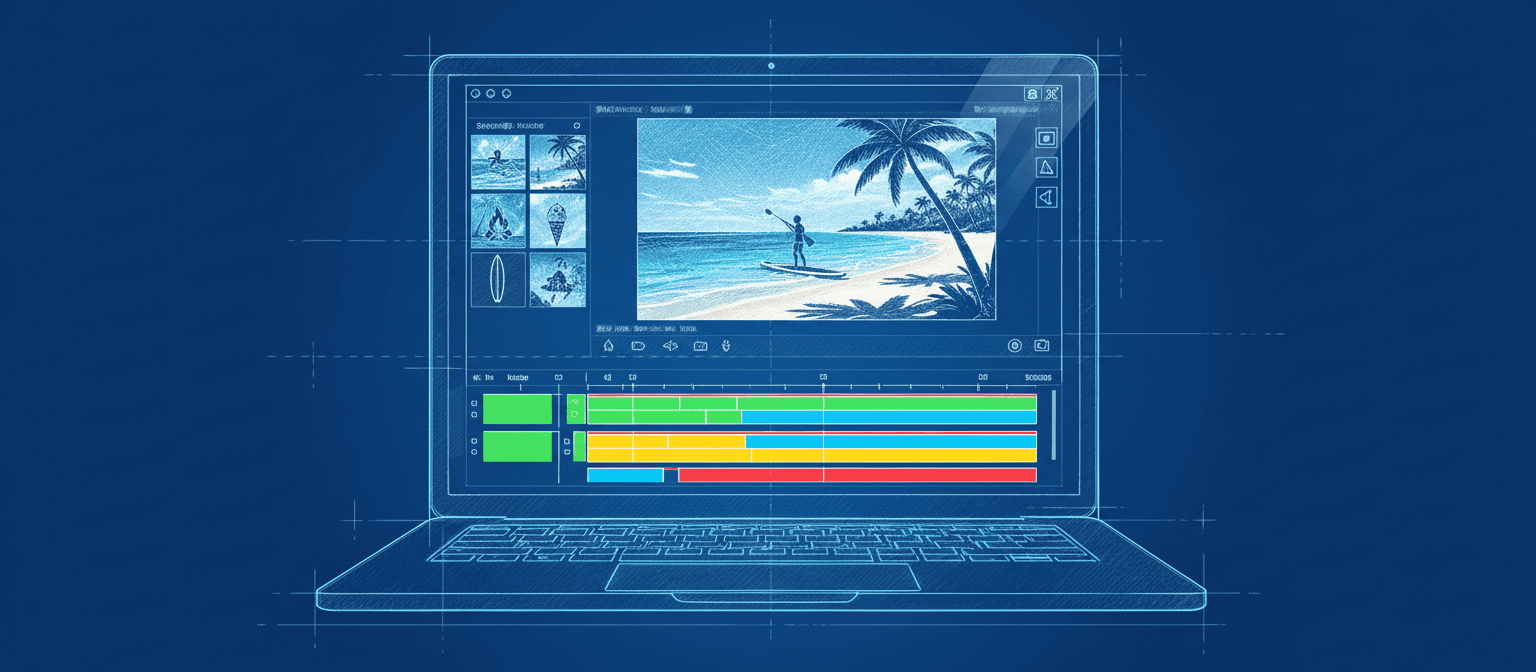
Software used: Adobe Premiere
User level: BEGINNER
This is explainer 1 of 5 in this series
This series includes:
- Create a Premiere project, import video clips and save the project
- Sequence video clips and render to an mp4 file
- Trim video clips, add fades and transitions
- Add text and music
- Putting it all together: Project Stonehenge!
The Software
This series of explainers for beginners uses Adobe Premiere. You can download a free trial version from Adobe if you have not used it before.

Premiere is a PAID app, usually purchased as part of the Adobe Creative Cloud ‘All Apps’ subscription. It can also be subscribed to on its own.
Premiere has a ‘baby brother’ called Premiere Rush, a simpler video editor designed to work on mobile devices and laptops. It offers ‘quick and simple’ workflows but doesn’t include many of the features of Premiere Pro. Premiere Rush is part of Adobe’s ‘Creative Cloud Express’ bundle which may be suitable for content creators working between mobile and desktop devices. It’s worth trying a free demo to see if it includes the features you will need.
Please review all the subscription options before committing to a purchase. Also look for subscription offers. This month we’re also running an explainer series for Vegas Pro (which can be purchased for a one-off fee or by subscription).
The final product
Here’s the simple ‘Spring is sprung’ video we’ll create in Premiere as we work through explainers 1 to 4. Notice the added text, fades, transitions and music track.
The pre-requisities
This is a BEGINNER workflow explainer, so you just need to install and open the software. We’ll take it from there.
Ifyou’re new to IT / computing, you may need help downloading and installing the software. Start with a search for ‘how do i install premiere’ or speak with someone familiar with downloading and installing.
Why would I do this?
It’s important to make decisions about your video project from the outset. For example:
- What will you call it?
- What will the output resolution be? (E.g. HD or 4k)
- What will the frame-rate be? (E.g. 24 fps, 30 fps or 60fps)
Making these decisions at the outset will help when you add assets including video clips, still images and titles, as well as ensuring your output is at the optimal quality level for the screens it will be shown on.
Let’s do it!
Click the play icon to watch this explainer video. Subtitles are available – Click the settings cog at the bottom right for options. You can also watch this video full-screen by clicking the full-screen icon at the bottom right.
Download the video clips used in this series
If you’d like to follow the explainers using the video clips demonstrated, you can download them below. These files are for personal use only and must not be distributed or sold.
Good to know
Premiere includes lots of help resources for new users. When you first open the program, click the LEARN button towards the left of the window to view a list of tutorials, many of which can be viewed without leaving the software…

Premiere also includes web-based tutorials:

For this explainer, our project settings and output file will be in ‘full HD’, which is 1920 pixels wide by 1080 pixels high. This is the most common resolution for outputting general purpose videos, including those destined for YouTube and Vimeo. Using lower resolutions than this can result in your video looking ‘fuzzy’ or blurry on large screens, while using higher resolutions (E.g. 4k) are often unnecessary for general use. Lots of detailed information about the most common video resolutions.
Where to next?
Remember, this is part of a series of explainers for this software – Join us again for the other explainers in the series 🙂
Notes and updates
There are no notes or advisories at this time. This video explainer was last updated in March 2023. This page was last updated in March 2026.
We at pixels.cool are not responsible for the content of any external webpages or software downloaded from third party sites. Links are included in good faith at the time of writing. All explainer content is compiled in good faith using processes and methods used by the team. Modern software gives users many ways in which to accomplish the same task, and for reasons of clarity we choose not to reference multiple options. All computer users should run up to date virus / security software at all times to minimise risk.