
All our creative explainer series are waffle-free and work-tested. That’s the pixels.cool guarantee!
Design the book cover and assemble puzzle pages in an image editing program
Overview
Name of part 4: Design the book cover and assemble puzzle pages in Photoshop or Paintshop Pro
Creative theme: Design and publish a puzzle book using Book Bolt Studio and Amazon KDP
Applications used: Book Bolt Studio, Amazon KDP, Image editing software (E.g. Photoshop or Paintshop Pro), Replicate AI (For AI image generation), MS Word
User level: BEGINNER
This is part 4 of 6 in this series
This series includes:
- Plan the book and overview the applications used
- Create a Wordsearch puzzle in Book Bolt Studio
- Generate puzzle number images and artwork using generative AI
- Design the book cover and assemble puzzle pages in Photoshop or Paintshop Pro
- Assemble the manuscript in Word
- Publish the book using Amazon KDP
The published book at the end of this series
‘These are the Classic Movies wordsearches you’re looking for!’ is live on Amazon now:
The design, build and publish process in 2 minutes!
This creative design series is complete in six parts. Here’s the entire process from creating lists of movie-themed words through to publishing the book using Amazon KDP in two minutes 🙂
Important information before you start designing a book cover!
Book Bolt includes options to create a KDP-compatible book cover using templates and thousands of built-in images and shapes, so you may prefer to use that method if you’re not confident with using a dedicated image editing program.
We’ve selected to build the puzzle book cover from scratch as this will give us full creative control. Any image editing application that supports layers can be used – We’ve used PaintShop Pro and Photoshop.
Before you start designing a cover, you need to know:
- The planned printed book dimensions (E.g. 6×9 inches or 7×10 inches)
- The number of pages in the book
This is necessary because the book cover will be uploaded to Amazon KDP as a single image file, which incorporates the front cover, spine and rear cover. It must be EXACTLY the right size, including the correct width spine – Do NOT start designing a cover before you have the above information! You are welcome to use our sizing information below…
As this will be our second published wordsearch book, we already know:
- The pages, when printed, will be exactly 7 inches by 10 inches (A popular size for wordsearch books)
- There will be 91 pages in total (This includes an intro page or two, 70 puzzles, 70 solutions and a couple of ‘wrap up’ pages at the back).
Because we have this information, we can move on to the next part of the process and download an image template from Amazon which will be the perfect size for the book cover…
Download a correctly-sized cover template from Amazon KDP
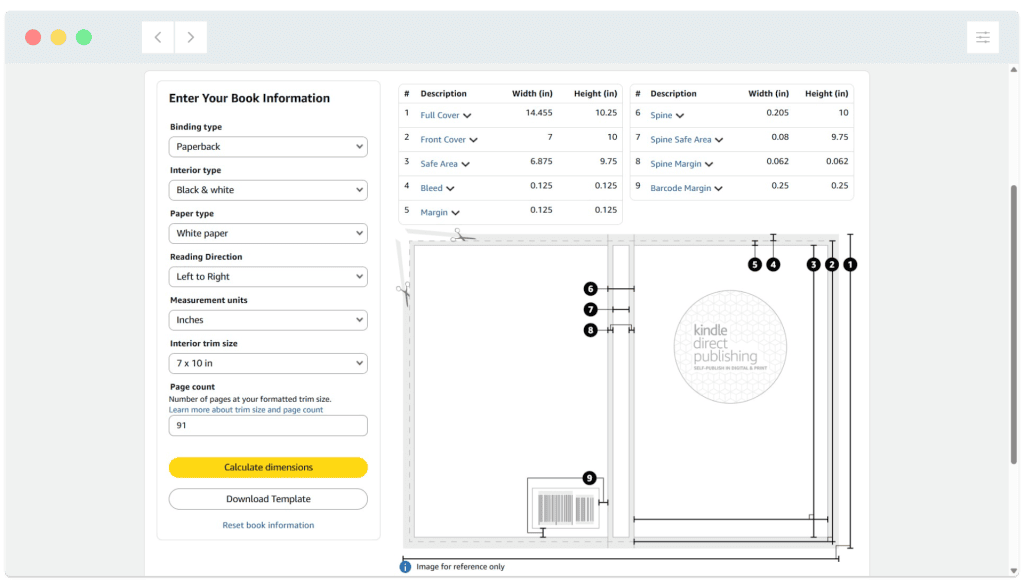
01: Go to https://kdp.amazon.com/cover-calculator.
Here, the precise print size and number of pages in the book can be entered:

02: Click ‘Calculate dimensions’. A detailed visual guide of the full wrap-around cover is shown:
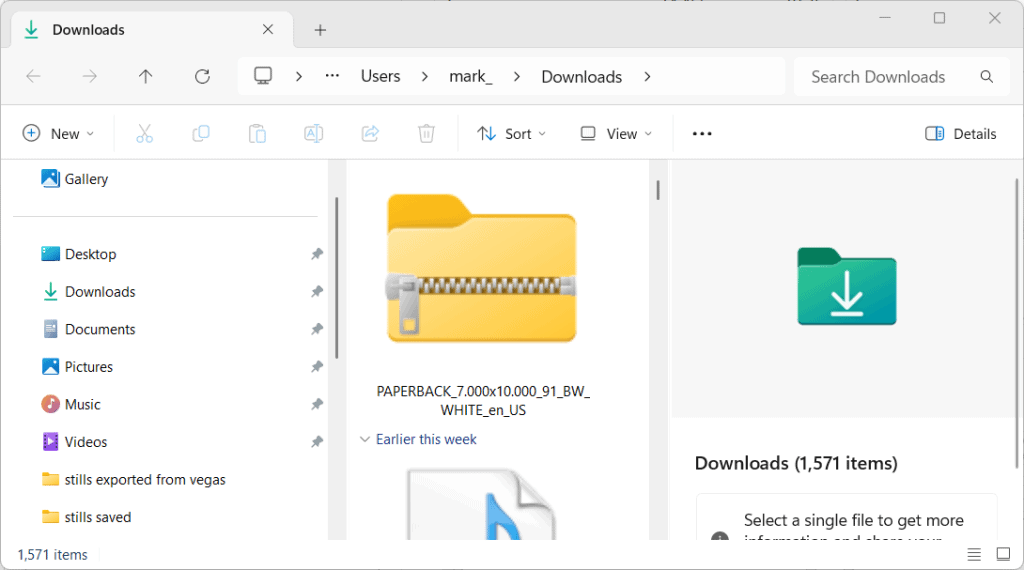
03: Click the ‘Download Template’ button. A zip file containing the image is downloaded to your computer:
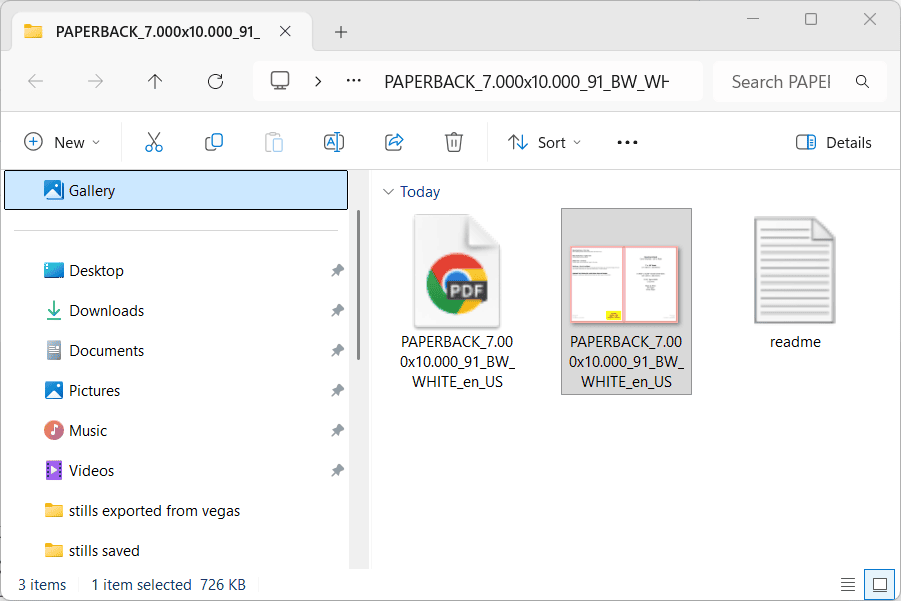
04: Inside the zip file there are 3 files, comprised of a text document, a PNG cover image file template and a PDF version of the same. It is the PNG image file (highlighted below) we’ll use to lay out our book cover in Paintshop Pro:
Design the book cover using the KDP template file as a base
01: Here’s the cover image template PNG file opened in the image-editing software:
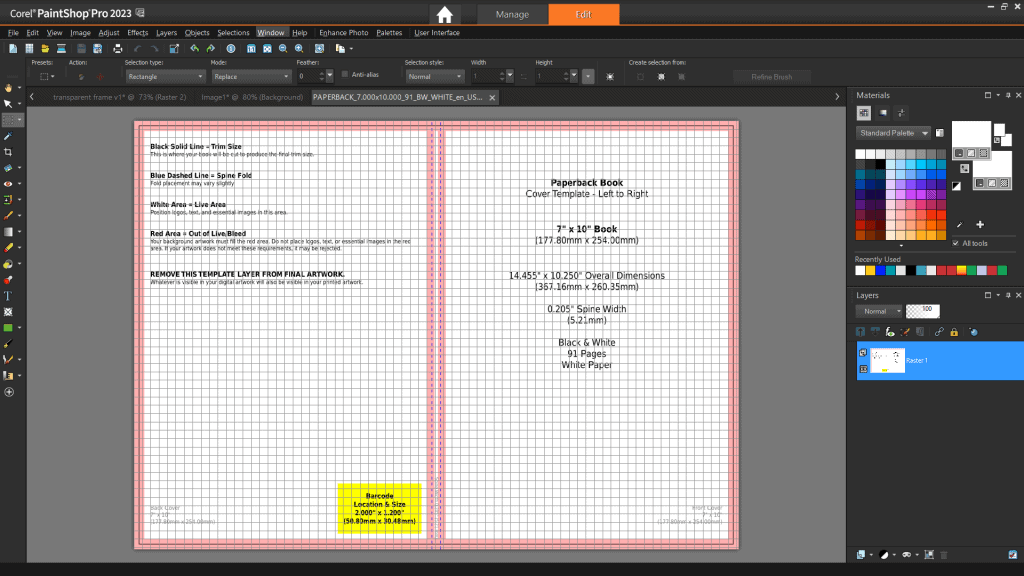
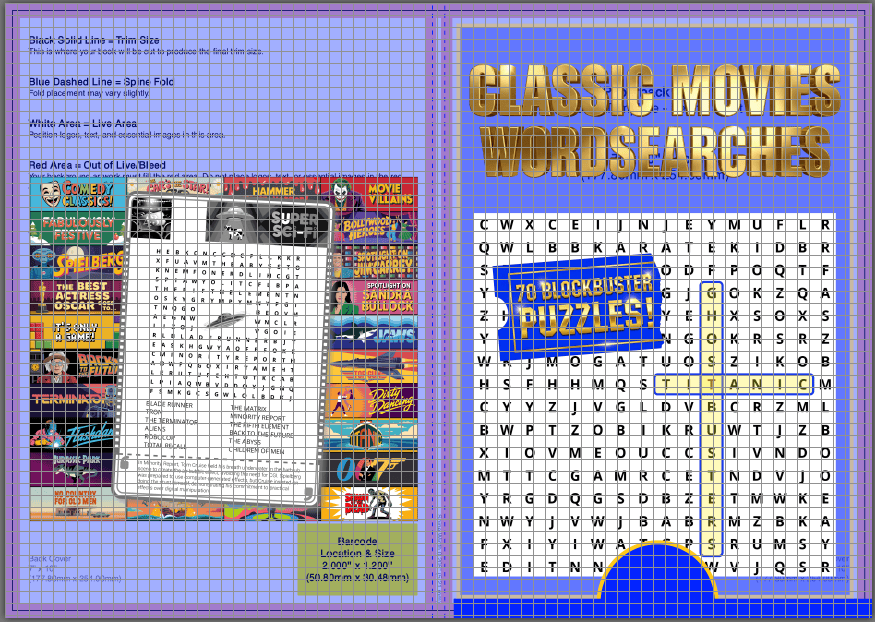
Notice the pink ‘borders’. These are areas which text or important parts of images must NOT bleed into – If you let this happen, you risk the edges being cut off during the printing process. You can read this warning on the template image itself near the top left.
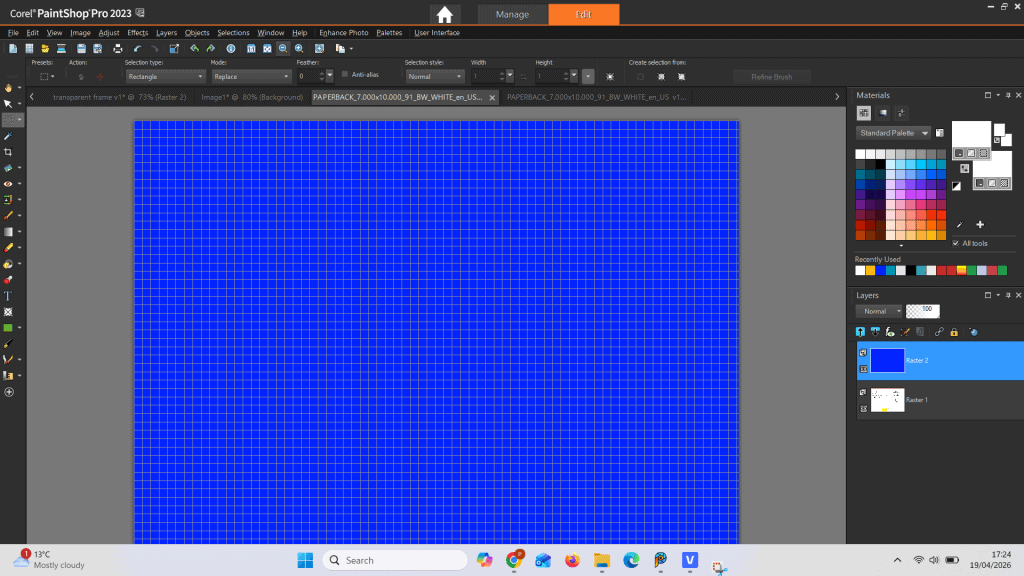
02: We start by creating a new layer on top of the KDP template image and filling it with a solid blue colour. Start by going to Layer > New raster layer. This layer will be used as the background / base layer of the final cover image:
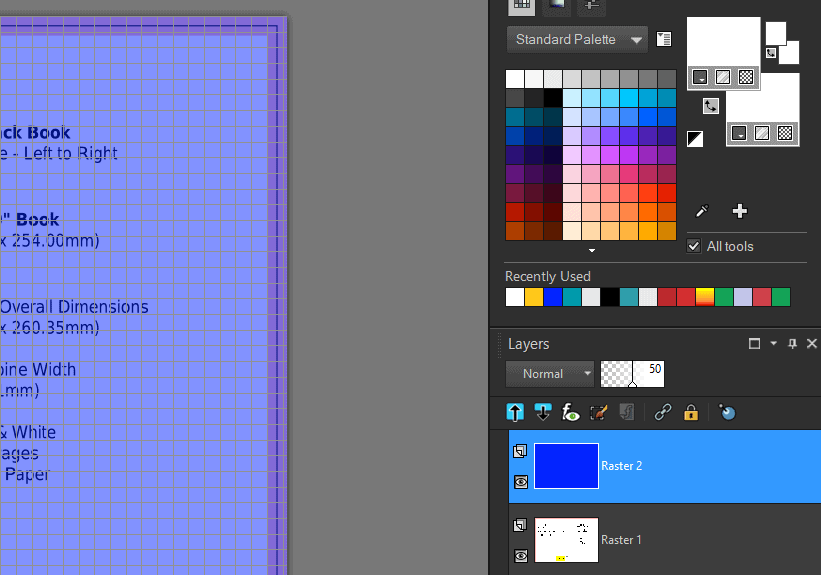
03: One of the benefits of using layers is that different components of the cover can be added to different layers, offering the flexibility to move them around and resize them independently. Transparency can also be used to help with the layout process, by allowing the guidelines from the template layer to ‘show through’ the background. You can see this below where the blue background layer has been set to 50% transparency:
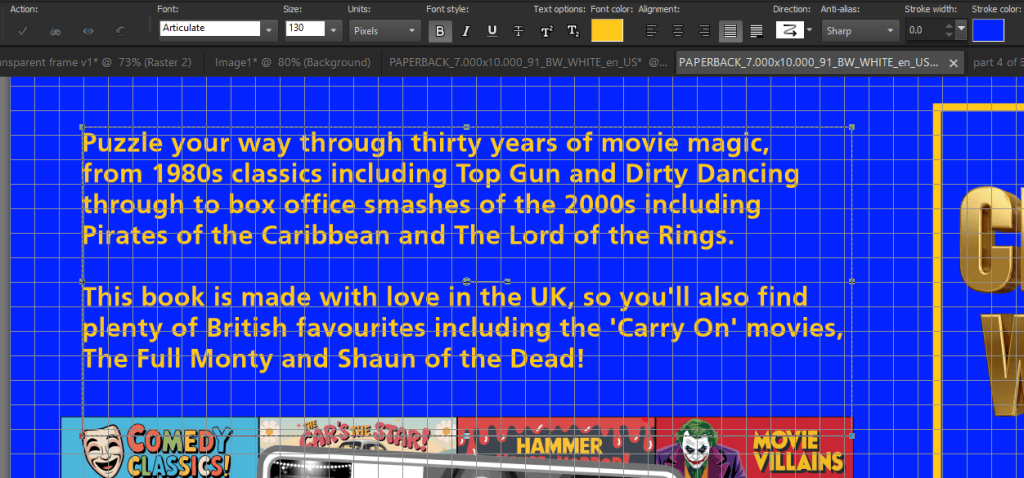
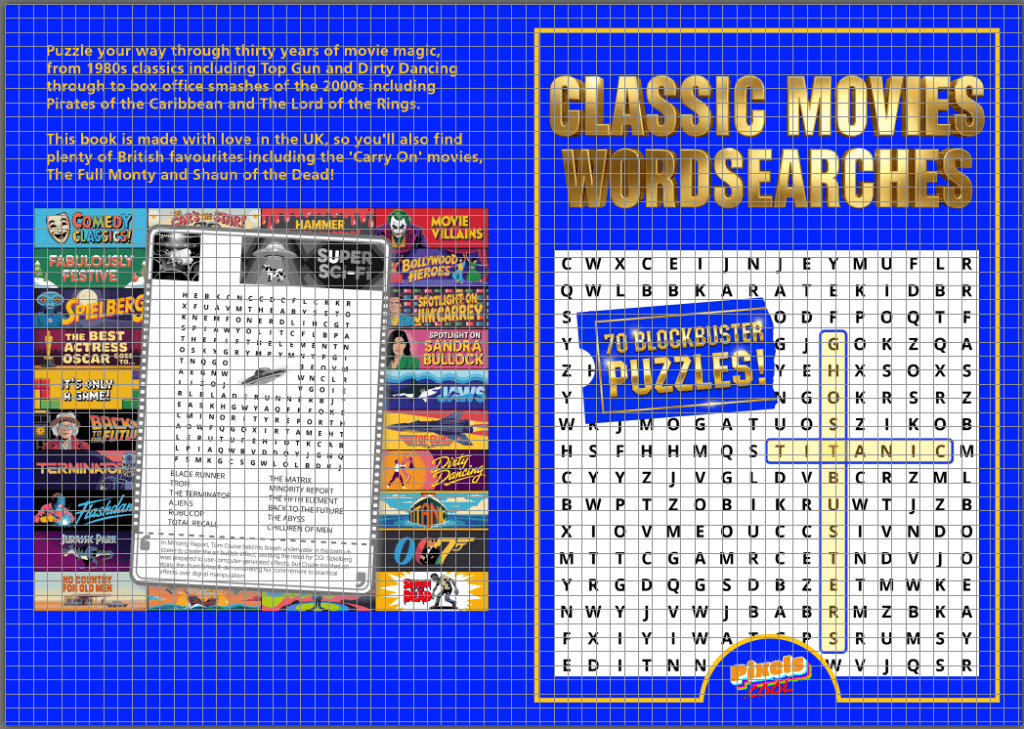
04: Continue to add image and text elements by opening them in PaintShop Pro and organising them to assemble the cover:
05: The large ‘gold” text on the back cover is added directly in Paintshop Pro using the text tool:
06: The completed cover file must be saved as a ‘print ready PDF’ in order to be uploaded to Amazon KDP. It is not possible to upload a jpeg or PNG file as a cover image in KDP. To save the layered image as a PDF, we loaded the saved cover image into Photoshop then selected File, Save as, PDF:
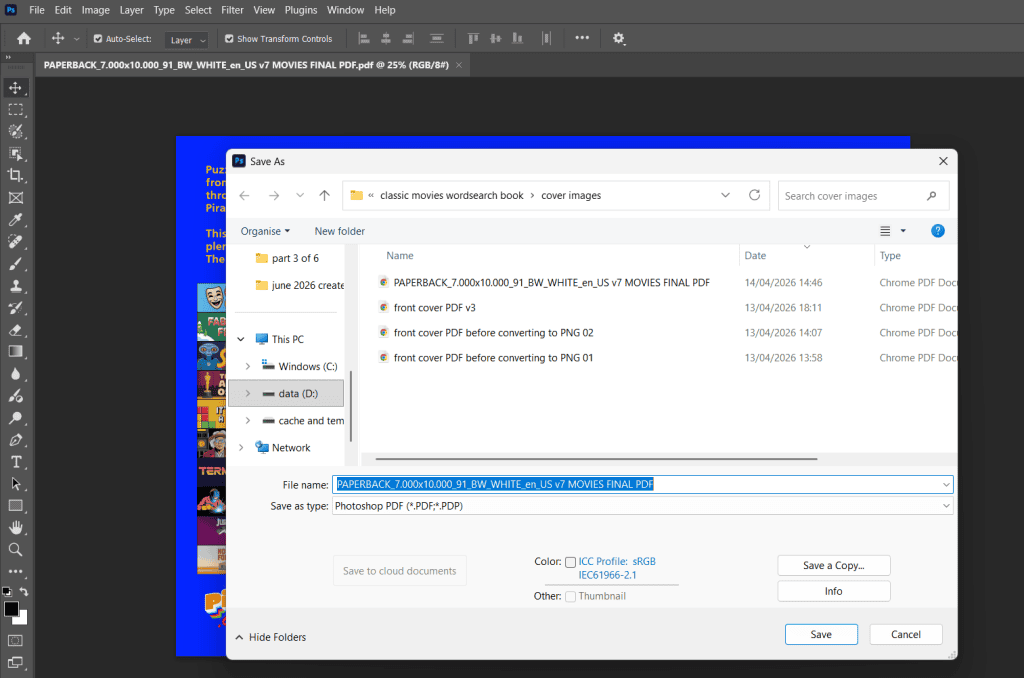
Note: Paintshop Pro does not offer PDF export, which is why we’ve opened the completed cover image in Photoshop.
07: In Photoshop, when you click ‘Save’, you’re asked to set additional parameters for the PDF file. Select ‘High quality Print’ and also make sure the ‘compression’ settings are set to ‘Image Quality – Maximum’ . Click ‘Save PDF’ to complete the process:
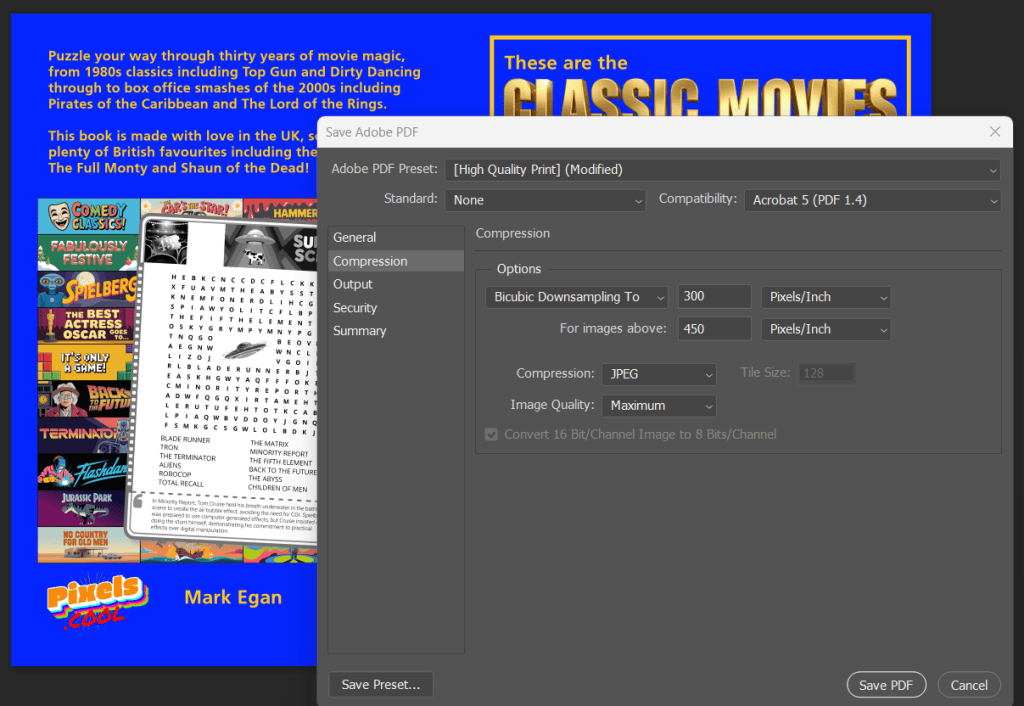
The cover file PDF is ready to upload to Amazon KDP later in this series!
Assemble individual puzzle pages
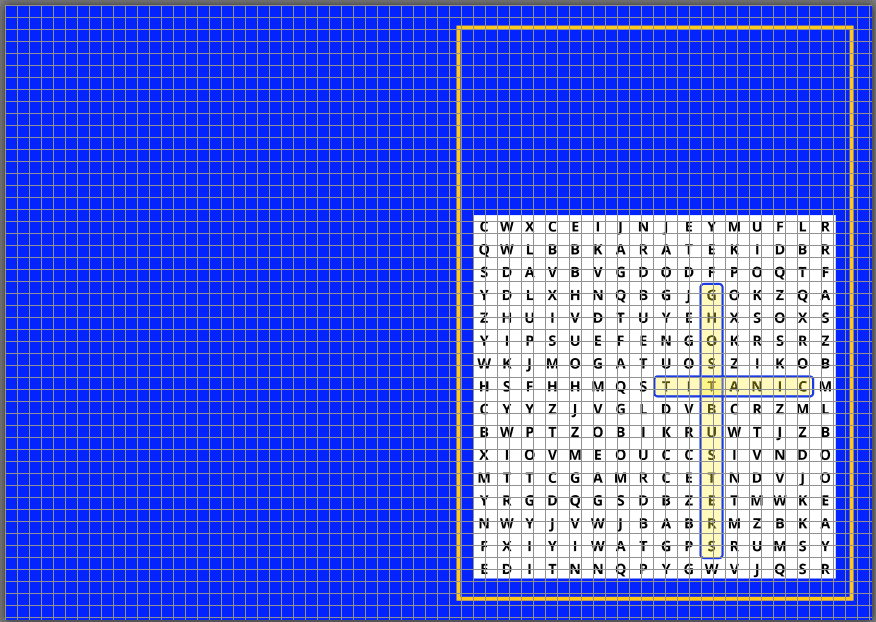
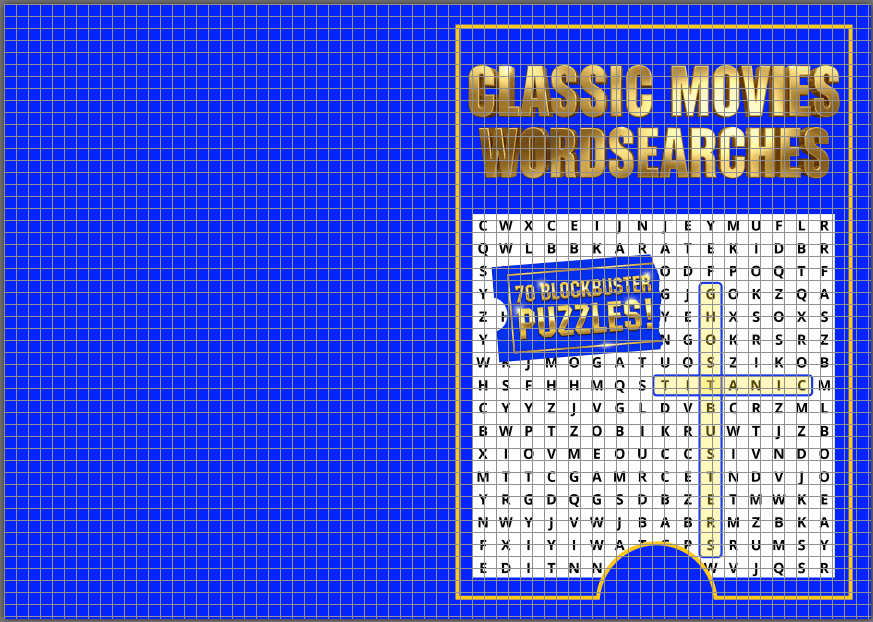
Every final puzzle page will look something like this:
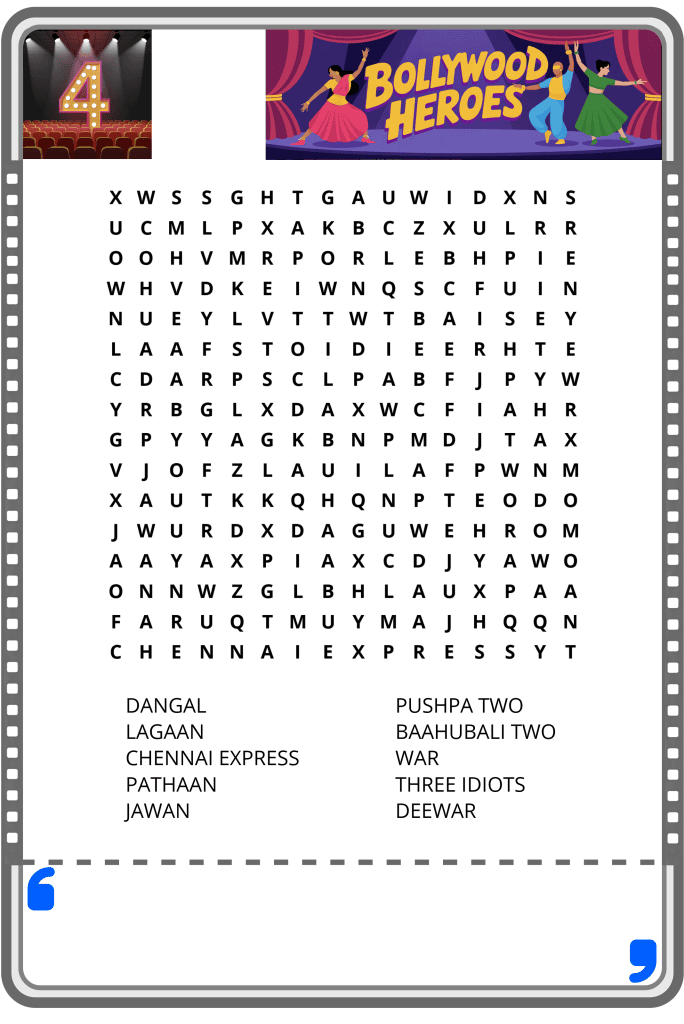
As you can see, it’s made up of the following elements:
- A thin border
- A wordsearch grid, which was exported as a PNG file from Book Bolt
- The word clues, also exported as part of the same PNG file from Book Bolt
- A puzzle number image (Generated using AI)
- A puzzle theme banner image (Generated using AI)
Once again, in Photoshop, Paintshop Pro or any editing program which supports layers, open all the required elements.
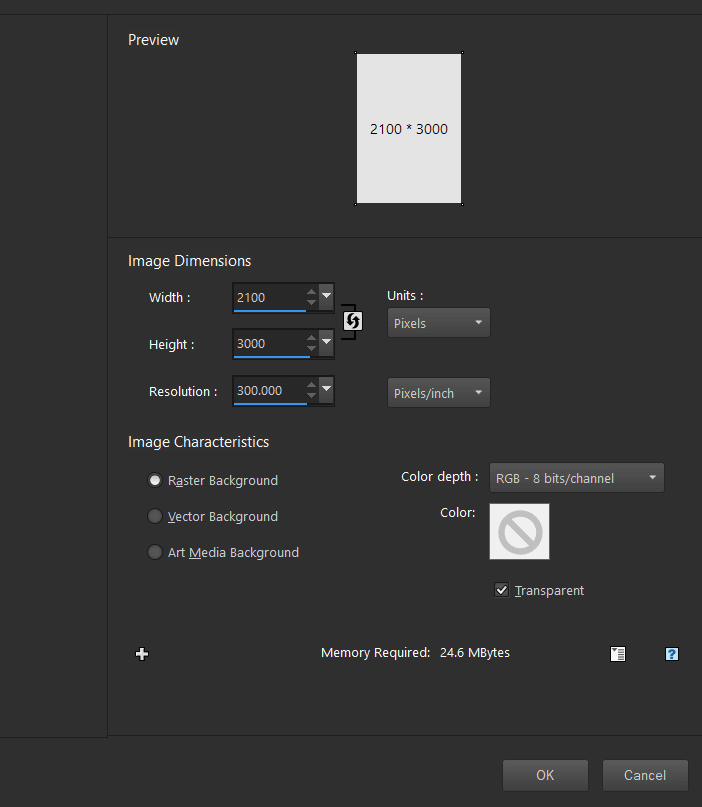
01: Create a new, blank image with an aspect ratio of 7×10 (To match the chosen print size). Below, we start with a 2100×3000 pixel image as this equates to a resolution of 300 pixels per inch, which is a popular print resolution. Anything higher than this will not appear any sharper to the human eye, but using a significantly lower resolution WILL compromise final print quality, so take care. This will become the background layer for the combined puzzle image:
02: Combine the required elements by moving and resizing them, using separate layers for each. Below, we add a puzzle number image to the existing composition, ready to resize it and move it to the top left of the image:
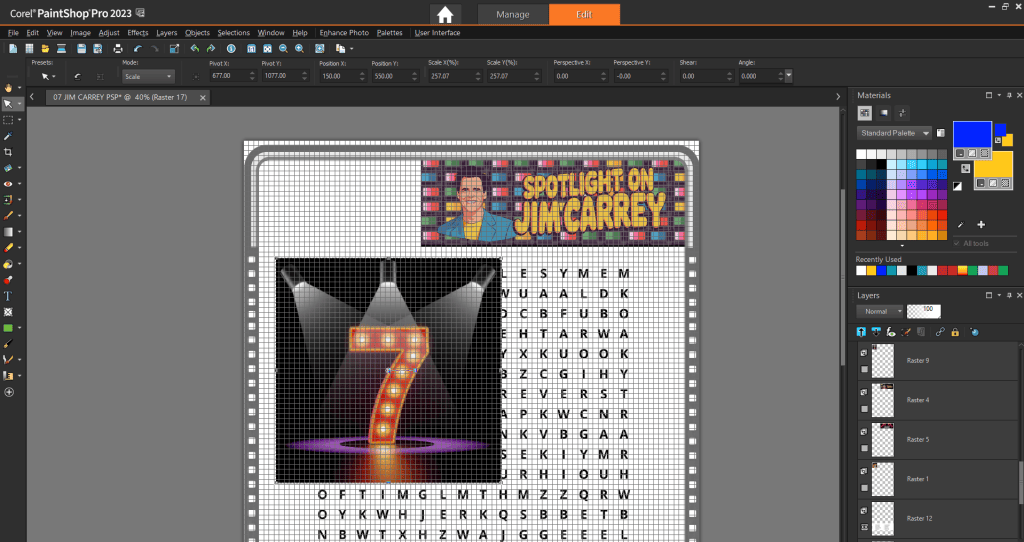
03: Save the completed puzzle image as a .PNG file. This will combine all the separate layers into one single layer and save the image in a format ready to open in Microsoft Word. You may also like to save an additional copy of the image as a .pspimage file (or a .PSD file if you’re using Photoshop) which will retain the separate layers in case you would like to make changes later.
Now the book cover PDF file and the puzzle page images are ready, we’re ready to ‘build our book’ in Word!
Assemble solutions pages
Each final solution page will look something like this:
As you can see, we’ve arranged 6 solutions images on to a single page. This is common practice in puzzle books, with solution grids being smaller than puzzle grids. Save the completed answer pages as PNG files ready to open in Microsoft Word.
The finished, published book
‘These are the Classic Movies Wordsearches you’re looking for’ is available now at Amazon!
…and as a digital download from Etsy!
Need help? We’ve got you!
We have a dedicated support email address to provide assistance for this series:

If you have a question about any of the processes shown, please get in touch! You can also request copies of the wordsearch / image assets we use so you can try them for yourself!
Note: This email is for help relating to this series only, until the end of September 2026. We aim to reply within 72 hours, weekdays only. We cannot respond to unrelated queries via this account.
What’s next?
In part five of this series we’ll assemble the book manuscript in Word by adding all the puzzle image files as separate pages.
Notes and updates
There are no notes or advisories at this time. This page was first published in June 2026.
pixels.cool is not responsible for the content of external webpages or for software downloaded from third party sites. Links are included in good faith at the time of writing. All explainer / walkthrough content is compiled using processes and methods used by the Team. Modern applications offer many ways to accomplish a task, and for reasons of clarity we choose not to refer to multiple options. All computer users should run up to date virus / security software at all times to minimise the risk of data loss.